How to Install Android Studio on Windows 10
Every Android developer’s career starts with the installation of Android Studio which is the software that you use to write, compile and test your apps. In this tutorial I will walk you through the installation process.
Before we start it is worth mentioning, that Android Studio is quite power-hungry. The official system requirements state a minimum of 4GB of RAM, but I have used Android Studio on a machine with 6GB and it definitely wasn’t a pleasure. So I recommend you to have at least 8GB of RAM.
Additionally it’s advantageous have an above-average CPU since you’ll be running at least three power-hungry applications at any given time: Android Studio (for coding), Android emulator (for testing) and your browser for looking things up.
Personally I’m running Android Studio on my desktop PC with 16GB of RAM and an AMD Ryzen 7 2700X as a processor and everything works perfectly fine.
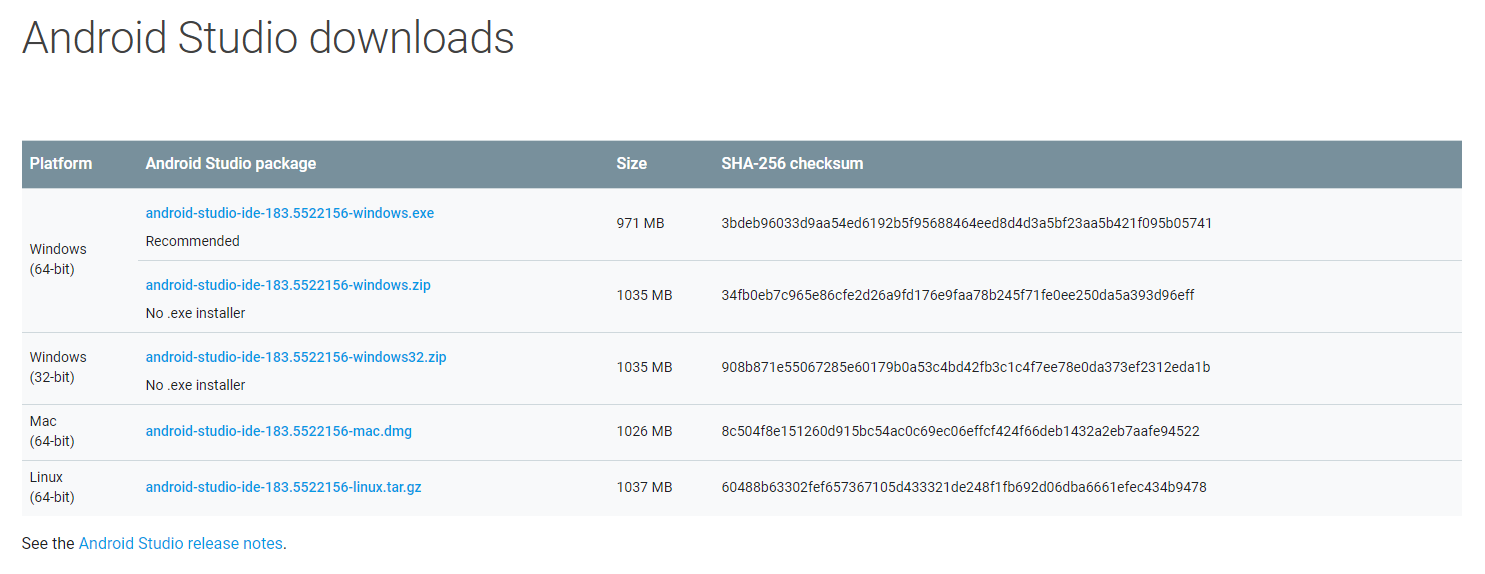
But now let’s get started. First, you’ll need to download Android Studio. To do that, just visit the official download page and choose the .exe file for Windows 64-bit. Then agree to the terms and conditions and your download starts.
After the download has finished, run the downloaded .exe file and confirm the Windows security dialog. An installation wizard will appear. Click start.
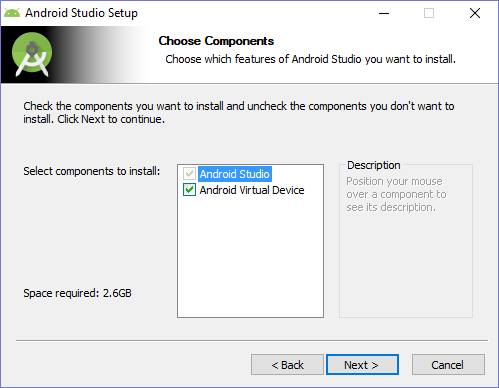
On the next page you will be asked, what components you want to install. Keep both boxes ticked because you want to install Android Studio and the Android Emulator (= Android Virtual Device). Then click “Next”.
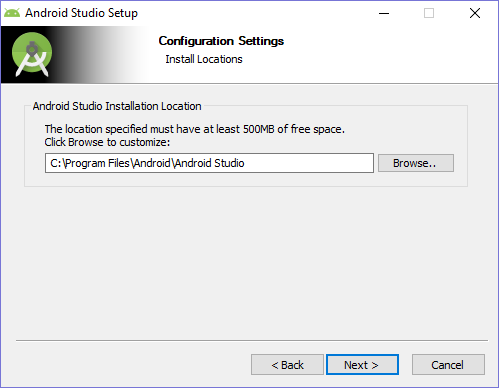
Next you can choose your installation location. I’d recommend you to just leave it as it, but you can also choose any other directory.
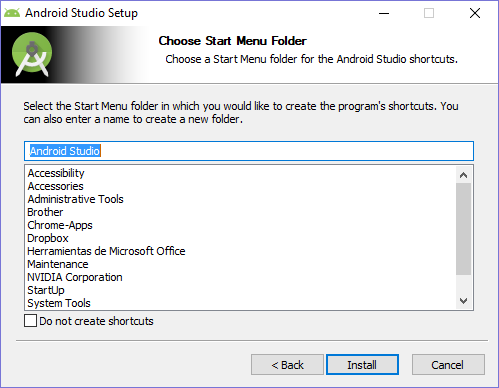
Afterwards you can specify the name of the folder in the Windows start menu, that the Android Studio shortcuts will be placed into. I just left it as it was. If you don’t want any start menu shortcuts, just tick the box at the bottom. Then hit the install button.
The installation will take a couple of minutes. After it is completed, click “Next”:

And that’s it! Android Studio has been installed. Hit “Finish” to launch it:

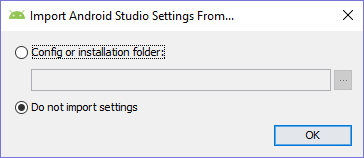
But we’re not done yet. As soon as we launch Android Studio, you’ll be asked if you want to import your Android Studio settings. This is for people, that already had Android Studio installed on one their computer and now want to reinstall it but keep their settings from the previous installation.
Since we are installing Android Studio for the first time, we don’t have any settings to import, so we just keep “Do not import settings” checked:
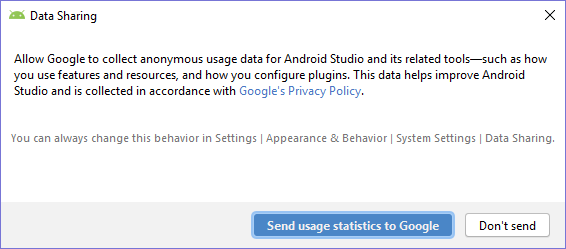
Then Android Studio will ask you if you want to enable anonymous data collection. It’s up to you if you enable it or not and it doesn’t have any impact on your user experience. I however clicked “Send usage statistics to Google” because it helps Google to improve Android Studio.
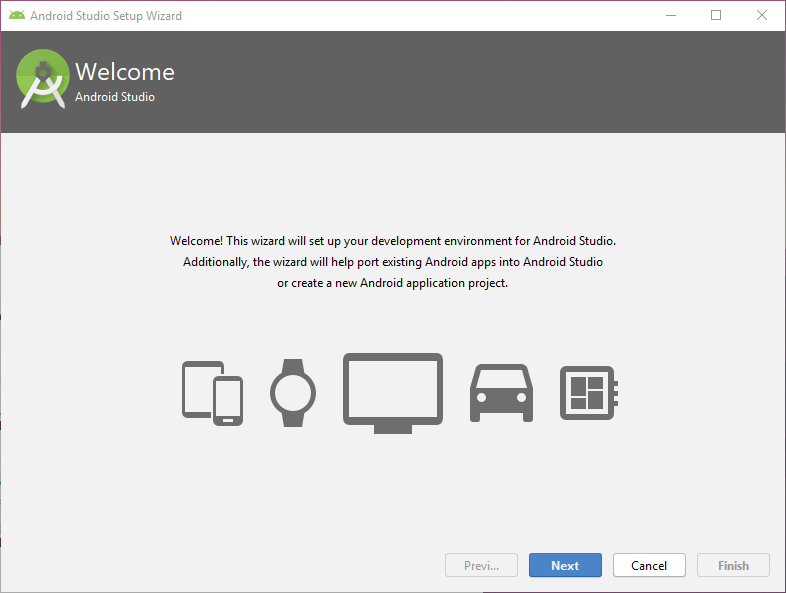
Another wizard appears that will help you configure Android Studio:
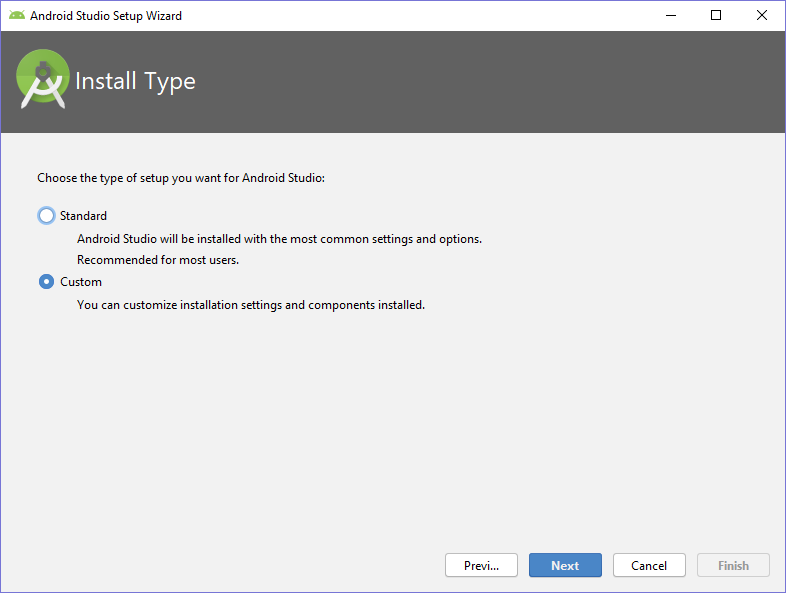
After you pressed “Next”, it will ask you to choose between standard and custom setup. There is hardly any difference between the two. The only difference is that in custom setup you can choose the maximum RAM for the Android emulator which you can’t in standard setup.
I choose the custom setup.
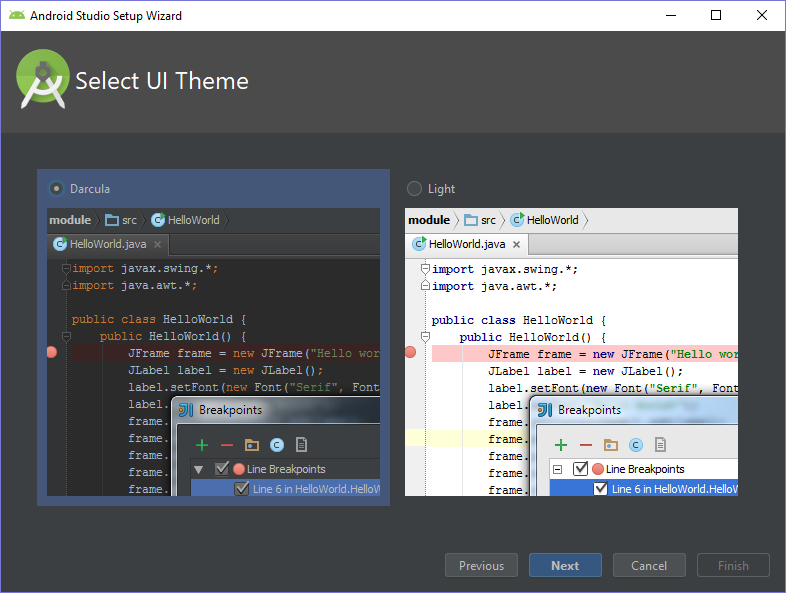
On the next screen you can choose between a light and a dark theme for Android Studio. What you choose is totally up to you and you can always change it later. I’ll go with the dark theme because it’s less aggressive to the eyes when coding at night.
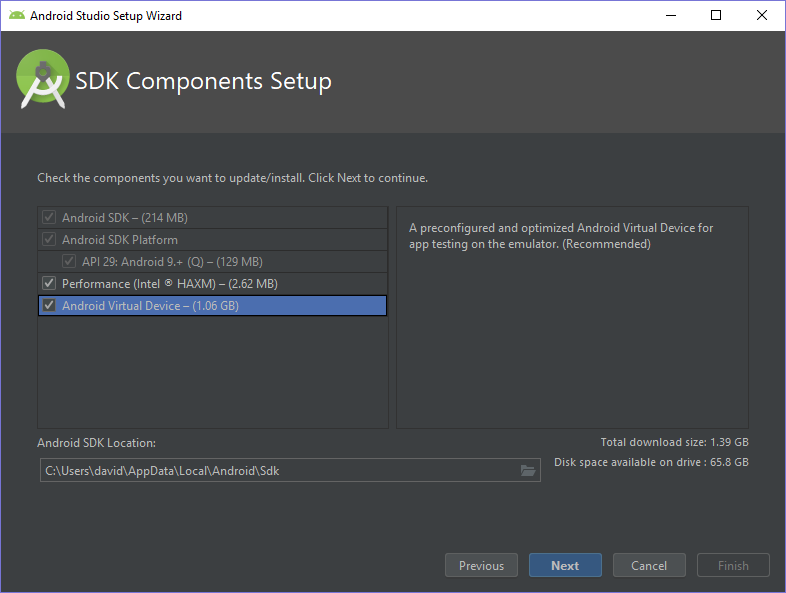
Then you can choose which components you want to install additionally to the barebone Android Studio. The Android SDK (Software Development Kit) and the SDK platform (which is Android Q at the time of writing) are already checked and can’t be unchecked. These contain all the code and libraries of the Android API and are mandatory for Android app development.
Additionally, “Performance (Intel HAXM)” is already checked. HAXM refers to Intel’s Hardware Acceleration Execution Manager. Hardware acceleration is a feature that enables the Android device emulator to run faster by using your physical CPU and graphics card to power the virtual device instead of virtualizing a CPU. HAXM is only available on some newer Intel CPUs. If you have an Intel CPU then please check if it supports HAXM and uncheck the box if it doesn’t.
Since my CPU is from AMD, it obviously doesn’t support Intel HAXM. Therefore, I unchecked that box. However, AMD supports another hardware acceleration platform. Read more about that here.
If you are unsure if your device supports HAXM, just check the box anyways. During the installation Android Studio will realize that your device doesn’t support it (if so) and just skip the installation of HAXM without cancelling the installation of the other components (Screenshot).
The last box is not ticked by default, but I recommend you ticking it because it automatically installs a preconfigured Android emulator device. While you can manually do that later, it makes the start easier.
On the bottom of the window you also have the option to change the installation path for the components, but I just left it as is.
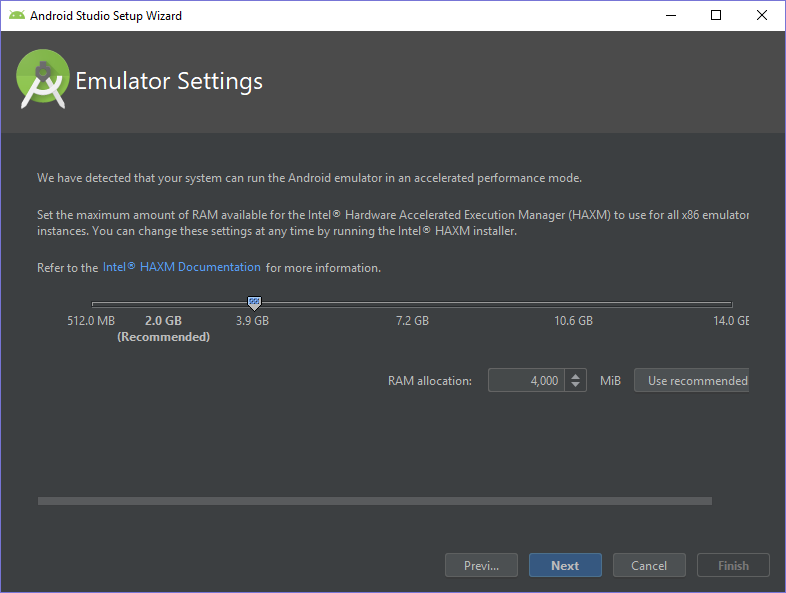
Since I chose the custom setup, I’m now being asked how much RAM I will provide for the Android emulators. This window only appears if your computer supports hardware acceleration (Intel and AMD). Keep in mind that the amount of RAM you specify is shared by all Android emulators that are running at the same time. Android Studio recommends 2GB but since I have plenty of RAM in my system, I changed it to 4GB. If you only have 8GB or less, leave it at 2GB.
On the next screen you will see a summary of all the components that are going to be downloaded. Click “Finish” to start the downloads.

Since the total download size is almost 2GB, this will take quite a while. After the download has completed, click “Finish”.
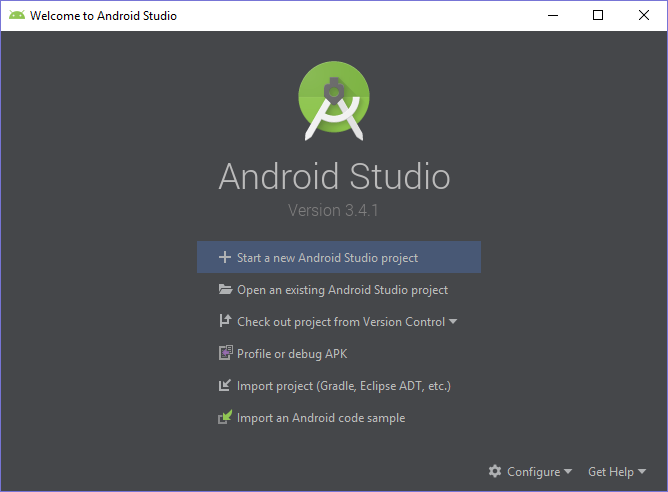
After that the installation is complete and you are greeted by Android Studio’s welcome screen:
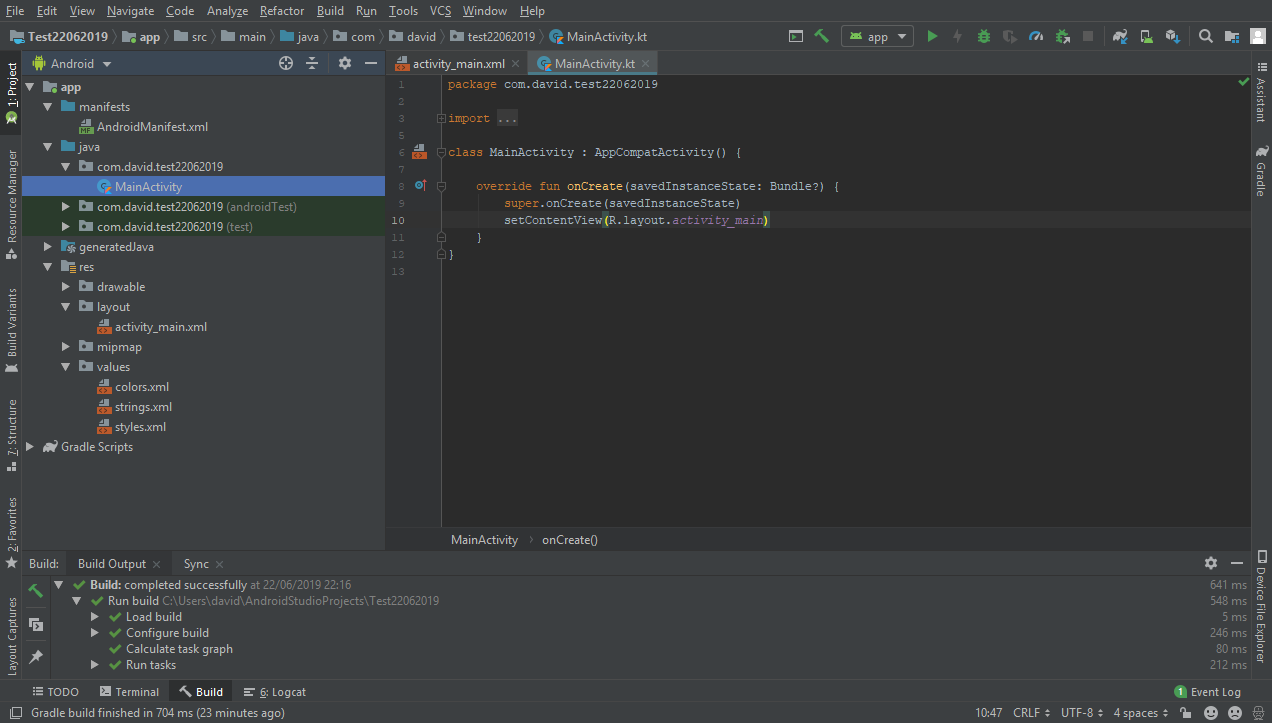
Now you can create a new project and start programming! I hope this tutorial helped you to install Android Studio on your device.